

How To Repair Holes In Aluminum Siding

Learn how to repair aluminum siding and patch holes both big and small! This step by stride tutorial will show you lot how to fix holes in aluminum siding hands!
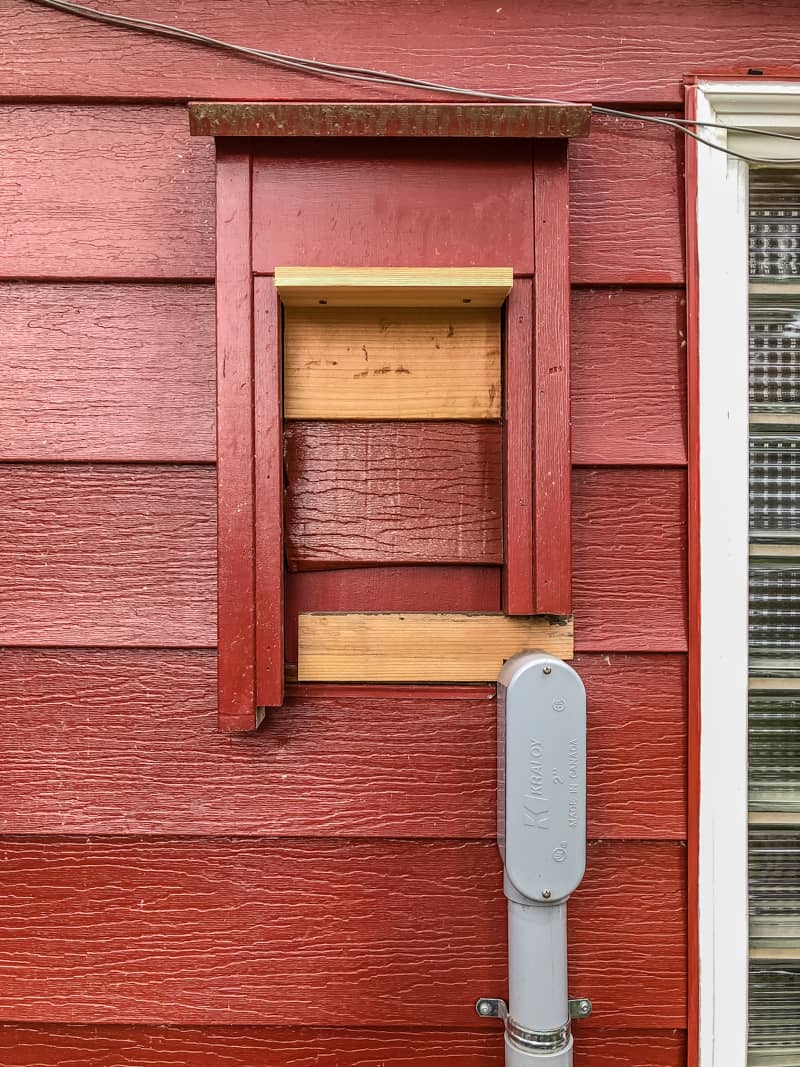
Afterward moving the electric meter to a new location, we were left with a large pigsty in our aluminum siding. A temporary patch was put in identify and the whole affair was forgotten virtually for years. Today, I'm showing you how to repair aluminum siding and set up holes both large and small!
This mail contains chapter links for your convenience. Purchases made through these links may earn me a small committee at no additional cost to y'all. Please visit my disclosures page for more information.
This eyesore on the back of the house has been bothering me for ages, but information technology ever got pushed down the to-practise list. Now that I'm giving the backyard a makeover, it's time to fix it up!
Materials Needed to Repair Aluminum Siding
- Electric metal shears
- Metal snips
- Fleck aluminum siding
- We saved the siding that was removed when we turned a window into a sliding glass door for our new deck. If you don't take extra and can't discover an exact match, effort taking a piece from the back of a shed or garage, then replace it with something visually similar in the inconspicuous location.
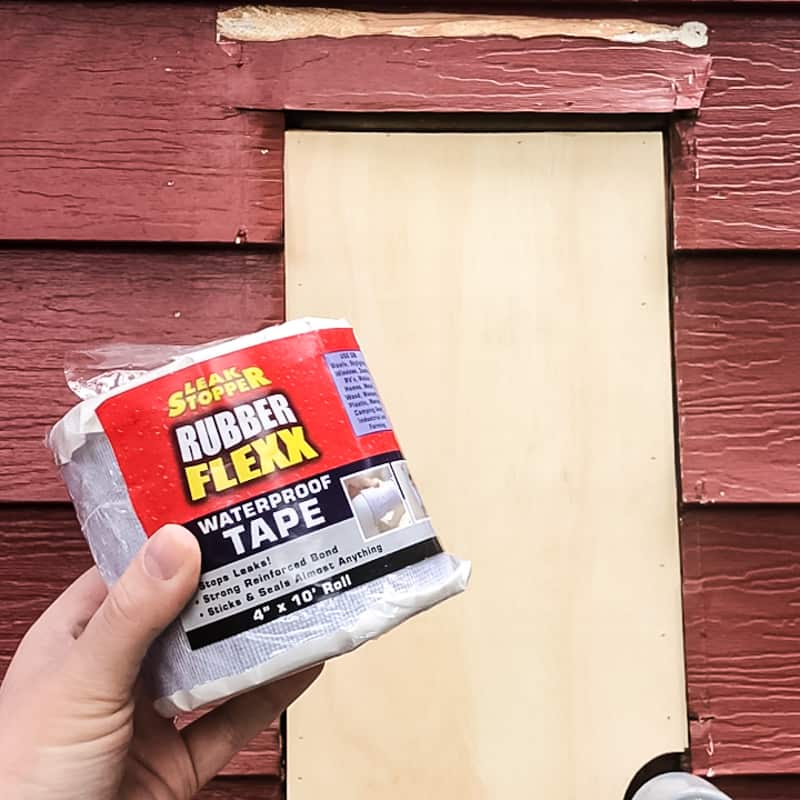
- Waterproof repair tape
- This stuff is astonishing! It forms a watertight bond that tin can be used to seal up gaps and holes in aluminum siding.
- Gutter sealant
- Used to seal up seams and gaps in cutting edges of aluminum siding.
- Aluminum repair epoxy
- Perfect for filling smaller holes from screws, nails or bolts.
- Latex gloves for working with sealant and epoxy.
- Cutting resistant work gloves for handling sharp edges of aluminum.
Don't forget your safe gear! Here are my recommendations for safety glasses and ear protection. No excuses!
How to Repair Aluminum Siding
Cut away the damaged area
Beginning, I ripped down everything roofing the hole and removed the weird frame with a crowbar.
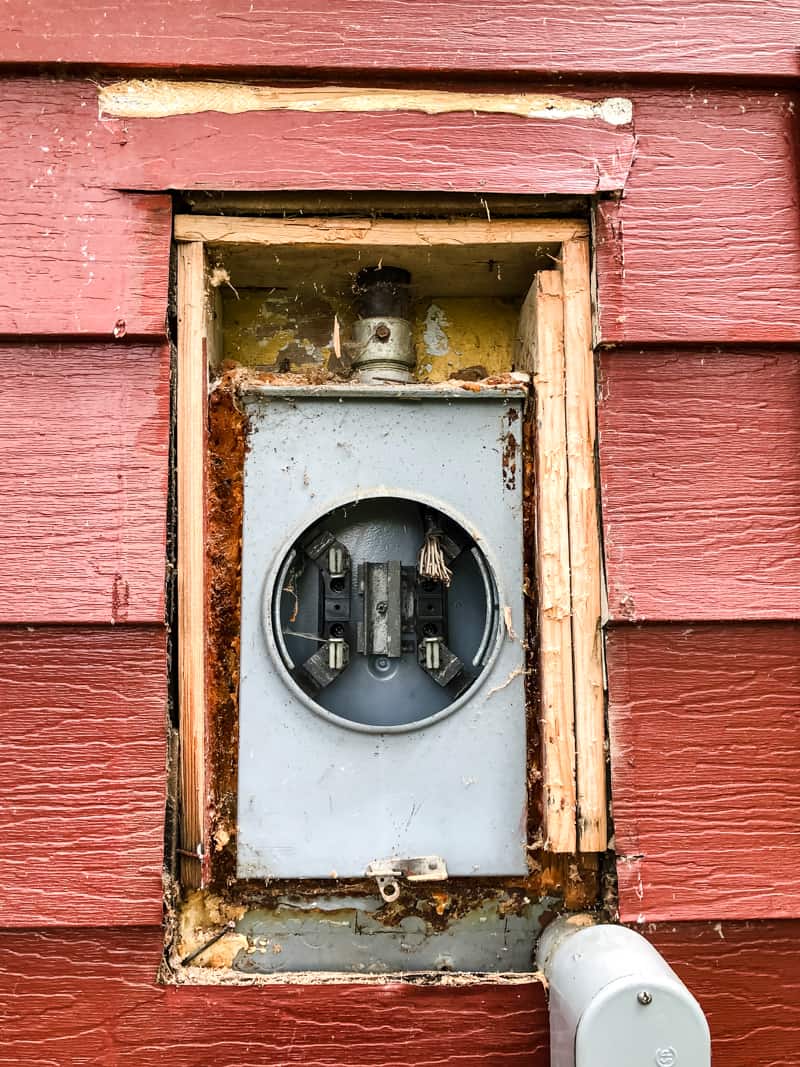
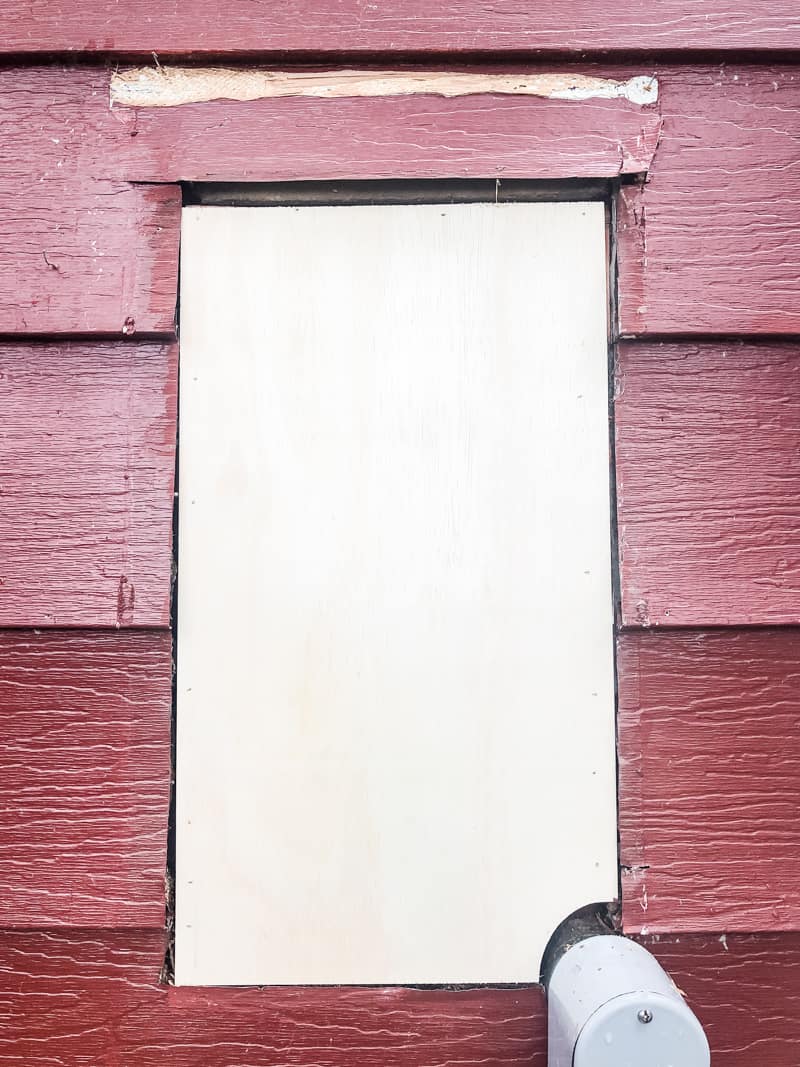
It looks pretty scary, but I'm relieved in that location weren't whatsoever creepy-awesome things or h2o harm inside. I used an oscillating multi-tool like this one to cutting the framing back to be level with the surrounding walls, then attached a ¼" plywood bankroll with brad nails.
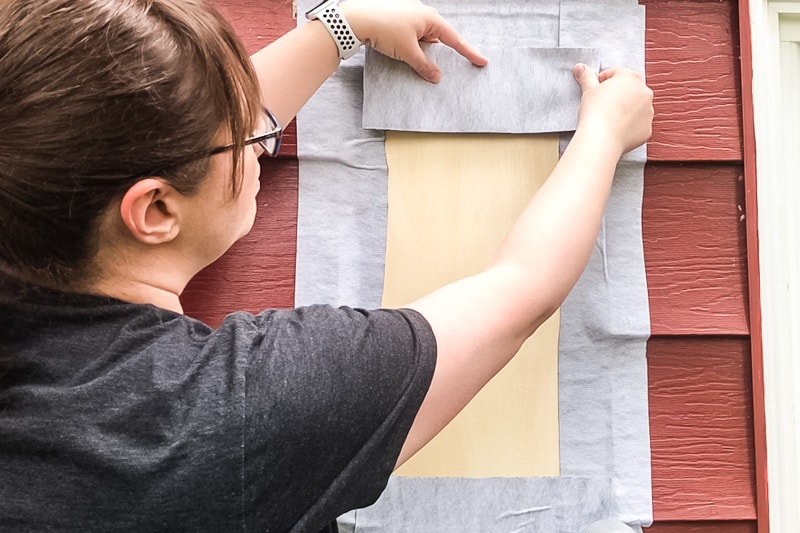
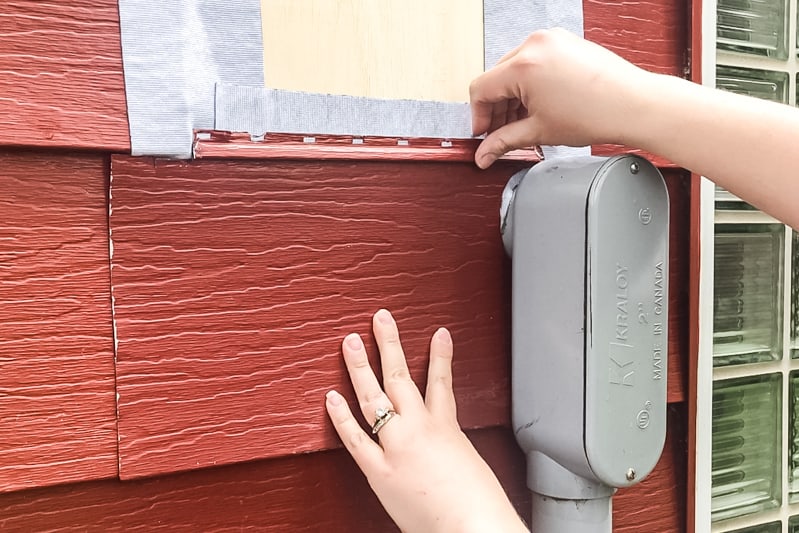
Utilise waterproof repair tape to edges
I wanted to embrace up those gaps for extra insurance against moisture or insects. This stuff bonds to aluminum and other surfaces for a h2o tight seal, while still allowing for expansion and contraction as the temperature changes.
I applied the record effectually the entire hole, overlapping it with the intact siding an inch or two. This had the added benefit of belongings down the edges of the existing siding that had curled upwardly slightly over fourth dimension.
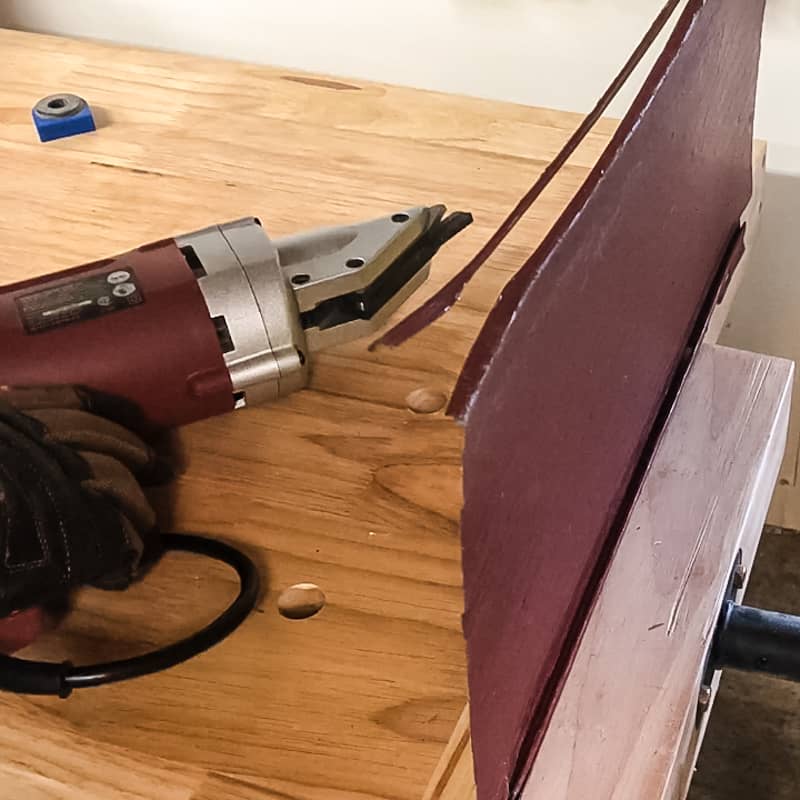
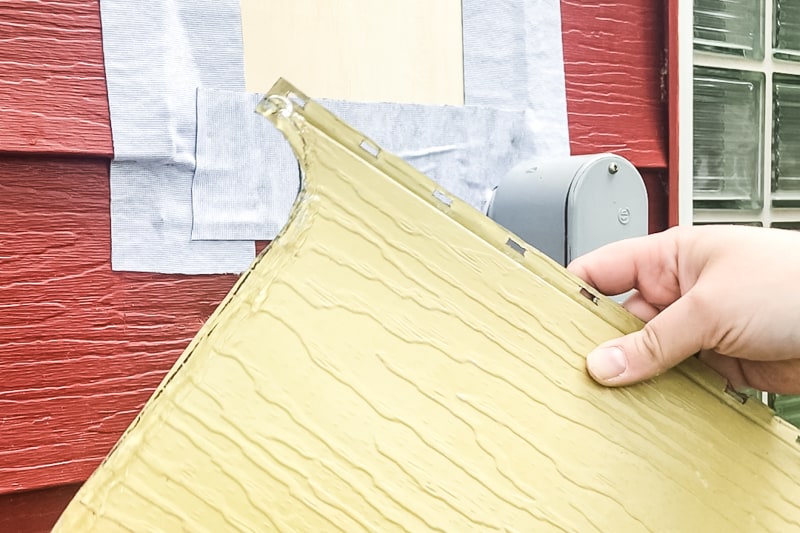
Cut off the flange from the lesser strip of siding
Try as I might, I just couldn't become the interlocking flanges at the bottom of the existing siding to come autonomously. I even got one of these siding removal tools to popular them loose, just it wouldn't budge!
So instead, I cut off the bottom flange from the outset strip of siding. Electric metal shears make this procedure soooo much easier than hand shears!
I traced the shape of the conduit onto the back and cut it out with the same shears. I also cut away the nailing strip on the pinnacle where it will overlap with the existing siding.
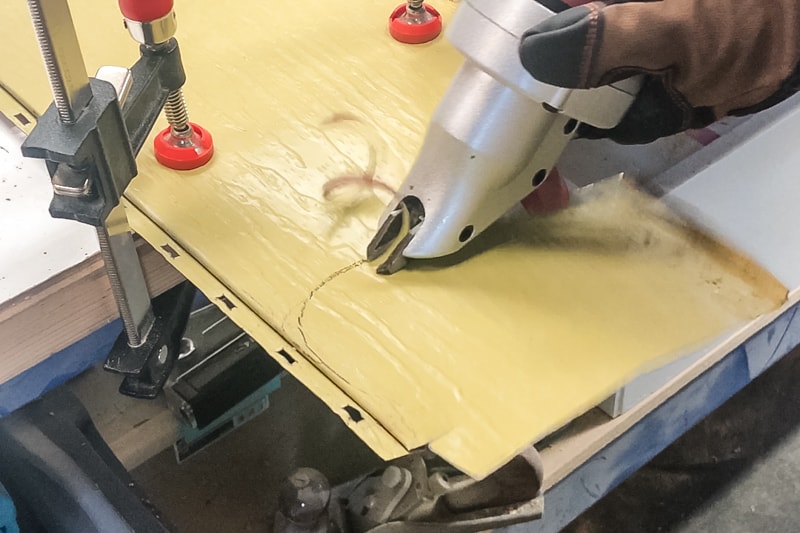
It took a few trips dorsum and forth to the shop to become the fit right, but it finally slid into place!
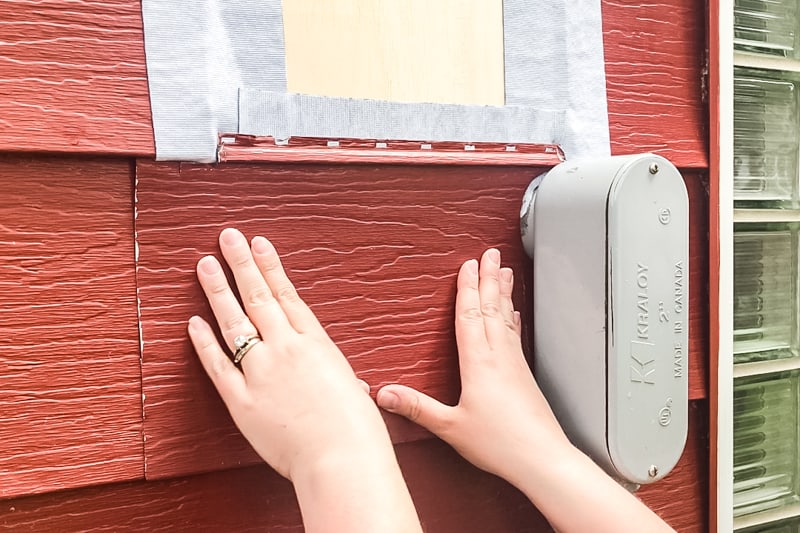
Utilise Gutter Sealant to Dorsum Edges
The sometime siding wasn't in the best shape after getting ripped off the wall, and so there are a few dents forth the edges. I used gutter sealant like a glue to hold the edges of the patch to the existing siding.
Put on latex gloves first, because y'all don't want this stuff on your pare! Run a bead of sealant along all the cut edges except the nailing strip at the top.
And so printing the siding slice in place. One time it holds in place on its ain, drive nails through the nailing strip and into the backing. The siding should hang on the nails slightly and then that it can expand and contract with the weather (metal expands in the oestrus!)
Piece of work your way up the wall
The adjacent few pieces only needed notches cutting out on the ends so it could slide under the existing siding. I was getting into a groove at this betoken and forgot to take photos of the notches. Oops!
One time y'all become to the acme, cut off the nailing strip the same way y'all cut off the bottom flange. Try to brand this cut as close to the border of the strip every bit possible so it lines upwardly with the underside of the existing siding.
Seal all edges with gutter sealant or silicone
To forestall insects from working their way under the siding, I sealed all the edges with more than gutter sealant. It might have been overkill, but I'd rather have to bargain with touching upward pigment than a hive of bees in the walls!
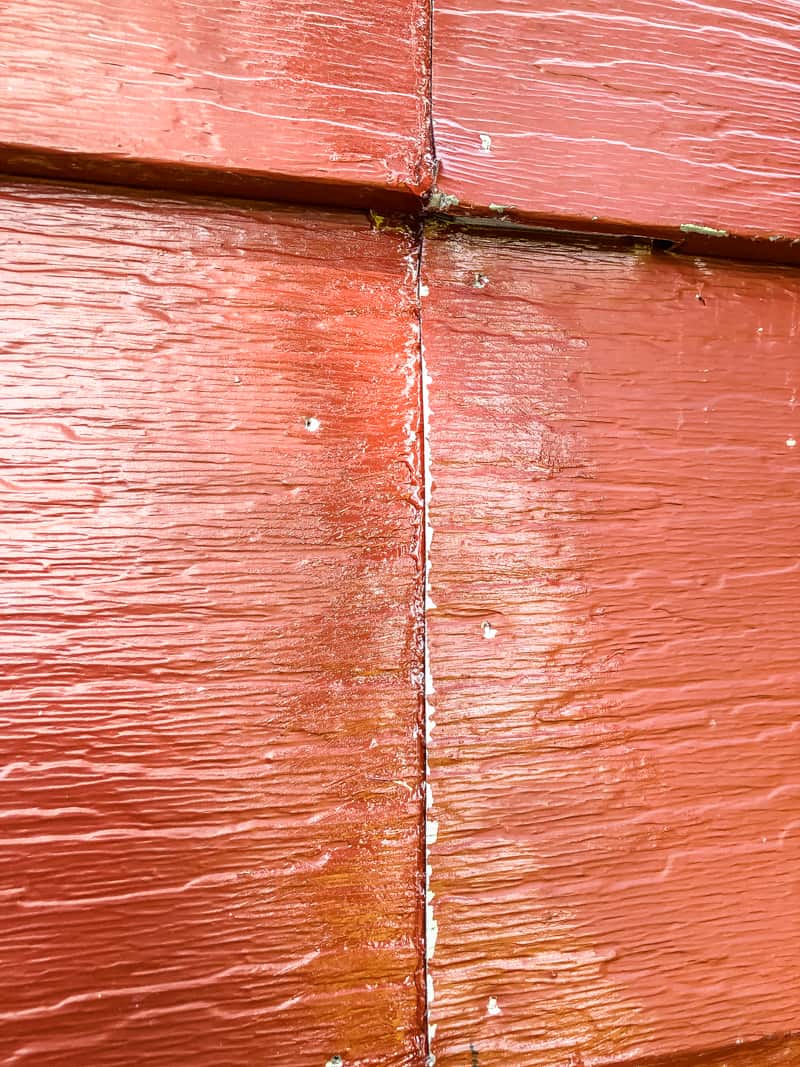
Make sure your sealant says information technology allows for seasonal movement, or you lot'll get buckling in the summer when the metal expands!
Fill smaller holes with aluminum repair epoxy
While I was at information technology, I decided to remove the old hose holder from the wall in this surface area. I'll be moving my potting bench to that spot, which already has a hose reel on the side.
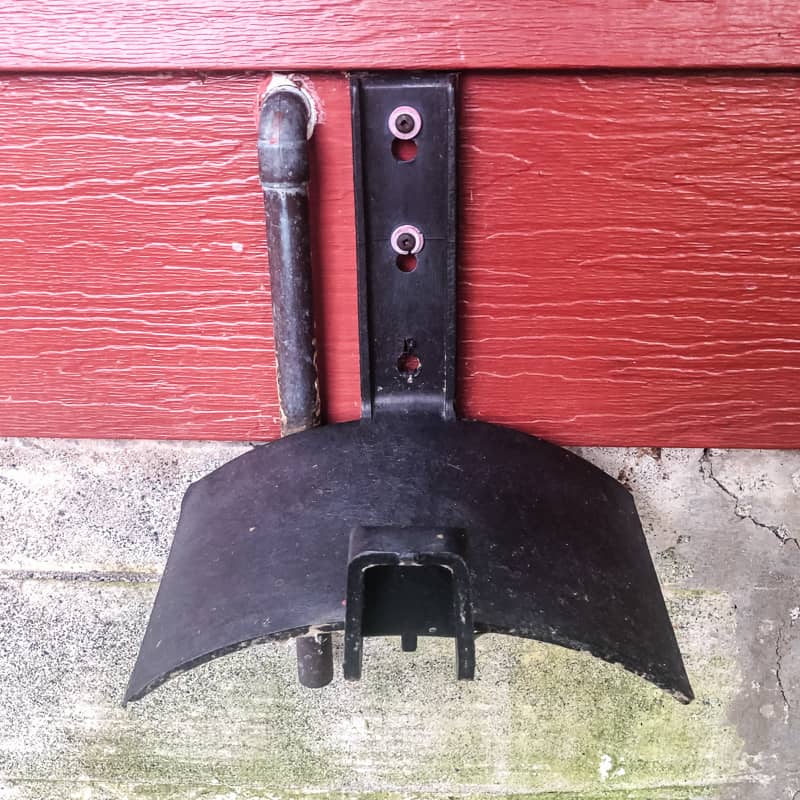
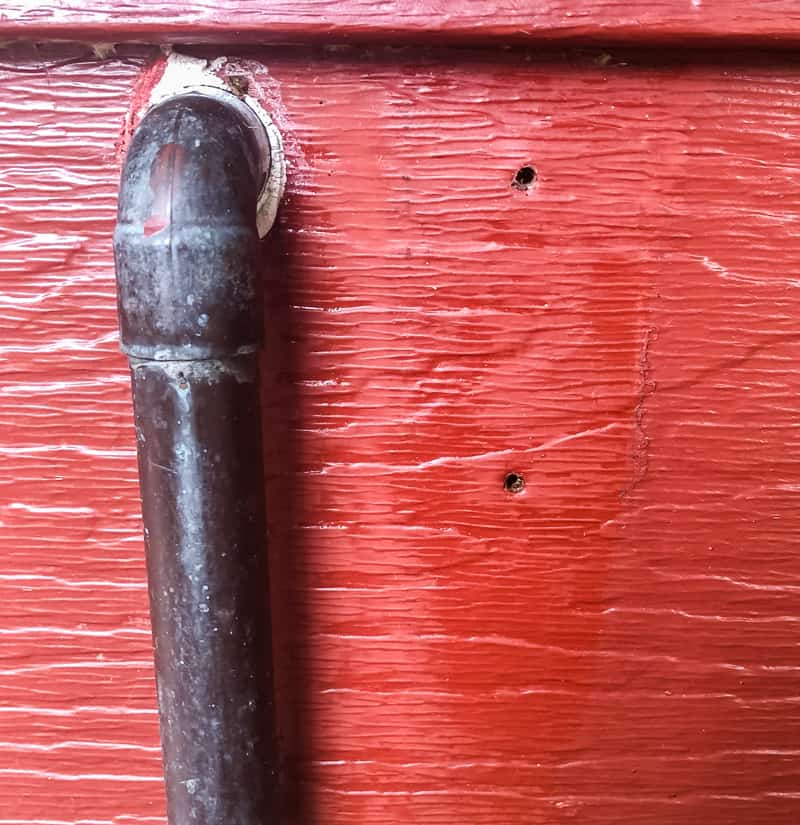
Afterwards unscrewing it from the siding, I was left with a few smaller holes in the aluminum siding to patch up.
Don your latex gloves once more, and so pull off a small chunk of aluminum repair epoxy from the tube. Mix the 2 components together thoroughly, and then push the putty into the pigsty with your fingertip.
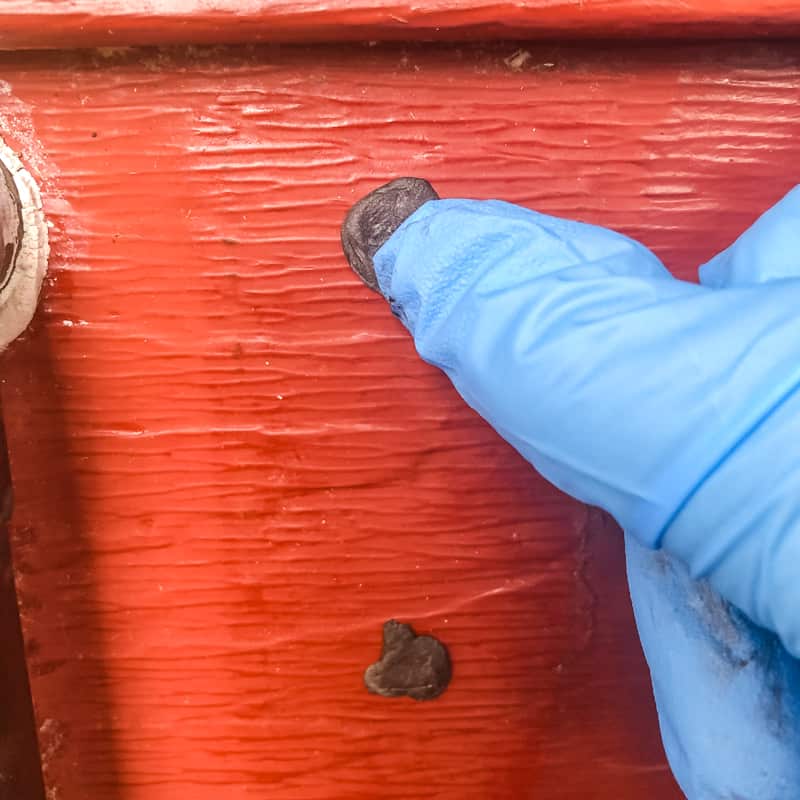
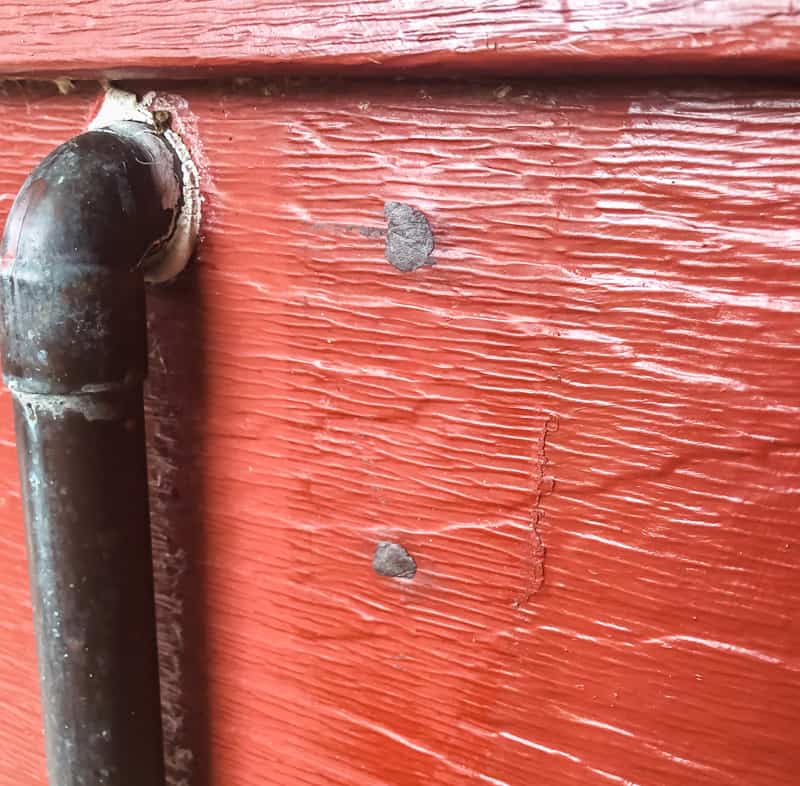
Peel off whatever excess so the patch is flush with the forepart of the aluminum siding. Work fast, because this stuff sets upwardly quick!
Touch upward paint
Once the sealant and epoxy cures (check the label for cure times), you can bear on up the paint in the repaired areas. If you don't have any house pigment, bring a small-scale piece of the replacement siding to the paint store to exist color matched.
I cleaned the aluminum siding in this area outset, then painted the repaired department and the greyness conduit so information technology all blends into the original siding. While it's certainly non perfect, information technology's better than the before!
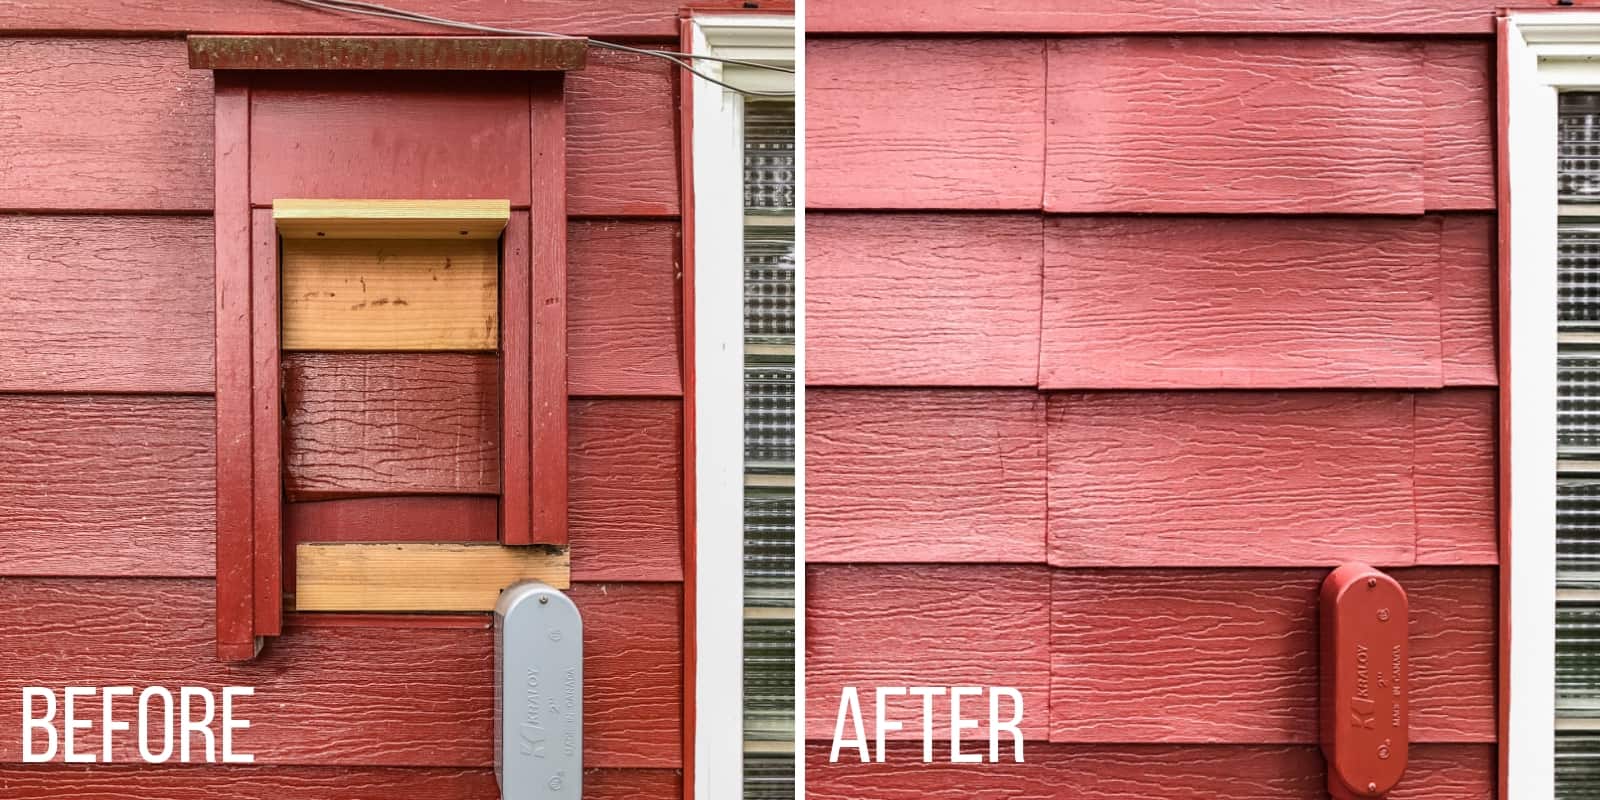
The repaired surface area is still obvious considering all the seams line up. I'll be hiding this wall behind a vertical planter, so information technology won't exist seen. If your area to be repaired is in a high visibility spot, I propose staggering the seam lines or lining them up with a window or door.
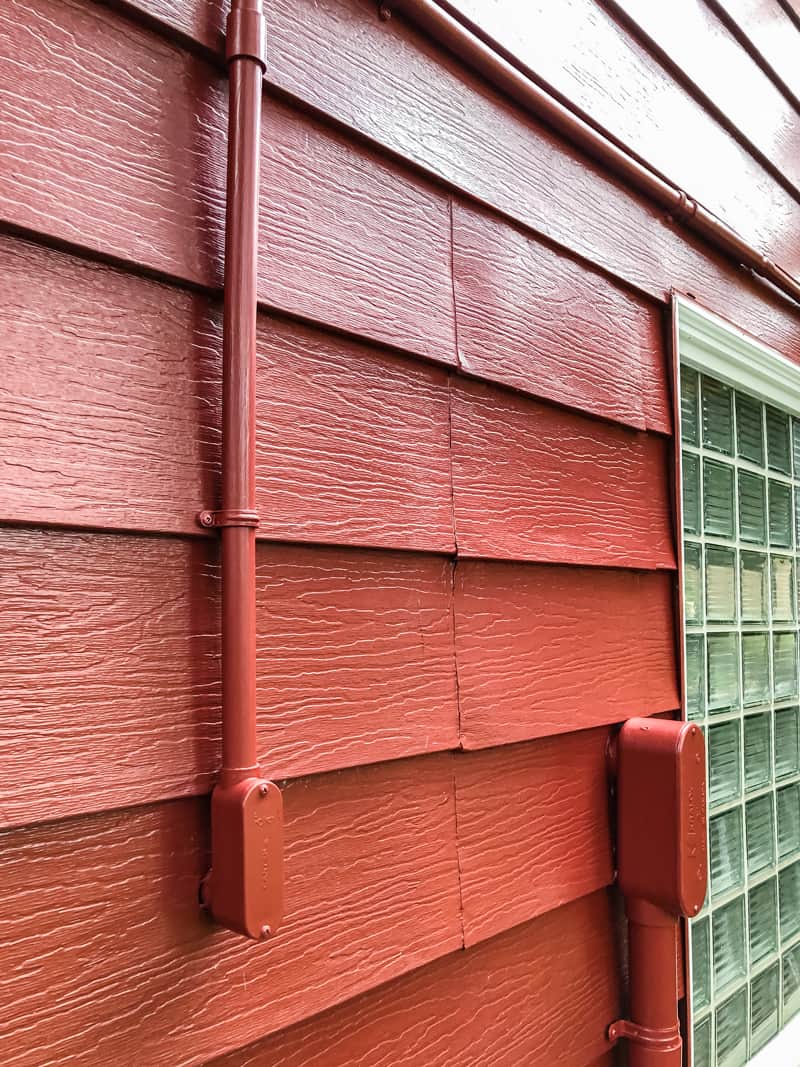
A professional siding installer has the tools to cut aluminum siding without that bump on the ends, but I'm no professional! 😉 I'm but relieved to finally take this aluminum siding repair complete! Now I can residuum easy knowing that our dwelling house is watertight and not beingness invaded by insects!
Cheque out these other habitation comeback projects!
Source: https://www.thehandymansdaughter.com/how-to-repair-aluminum-siding/
0 Response to "How To Repair Holes In Aluminum Siding"
Post a Comment