

How To Repair An Rejuvenate Worn-out Subwoofer Surrounds
Introduction
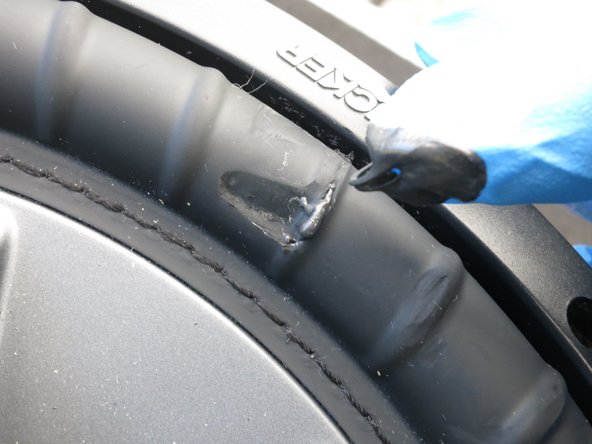
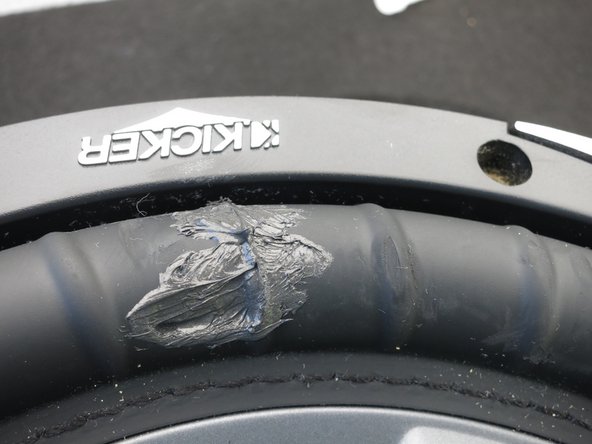
I realized — a little too belatedly — that a couple of retaining clips were rubbing confronting the top of the subwoofer/enclosure in my machine. Ane clip was (thankfully) scratching the subwoofer enclosure carpet, simply the other ane had poked a pigsty on the subwoofer's rubber surroundings.
I removed the retaining clips so there would be no problems in the hereafter, just the damage had already been washed. So I figured what the heck — might as well make a guide!
-
-
Assess the damage. Depending on the severity of the cutting, y'all may need some other scaffolding material (bated from RTV silicone) to enclose the pigsty.
-
In this case, all nosotros demand to do is encompass upwards the tear with RTV silicone in club to make the subwoofer almost as good every bit new — functionally, at to the lowest degree.
-
-
-
Unscrew the 8 #two Phillips screws using either a screwdriver or cordless driver.
-
-
-
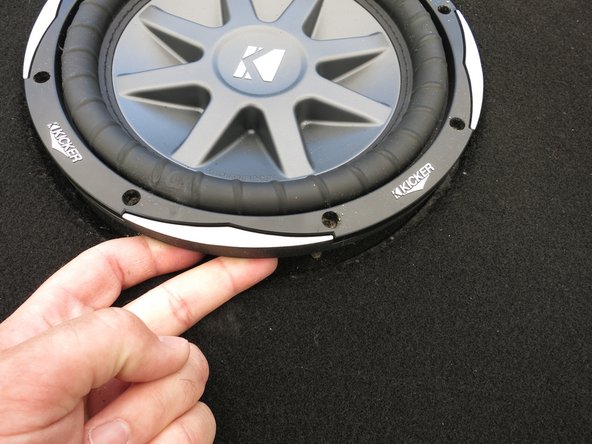
Employ a flat pry tool (such as a flat-blade screwdriver) to prop up an border of the subwoofer.
-
Slide your fingers underneath the sub so that you go a good grip on its edge.
-
Carefully lift the subwoofer out of the enclosure, minding whatsoever wires that may be tethering the sub to the enclosure.
-
-
-
Apply a clean, lint-free cloth to wipe away whatsoever clay/grease/grime that would otherwise tarnish the bail betwixt the rubber and RTV silicone.
-
Inspect the underside of the tear and also gently clean information technology with a cloth, if needed.
-
-
-
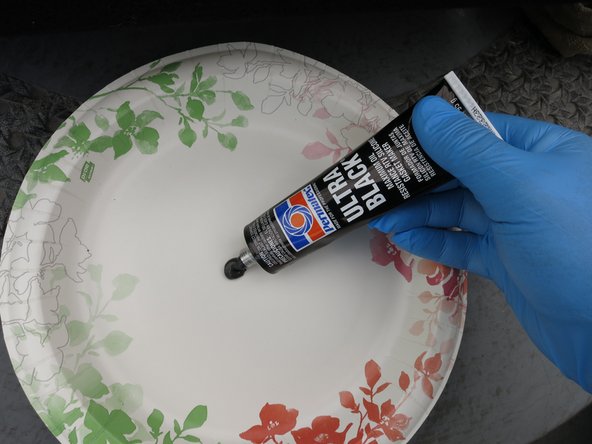
Time to become dirty. Put on your favorite make of nitrile or latex gloves.
-
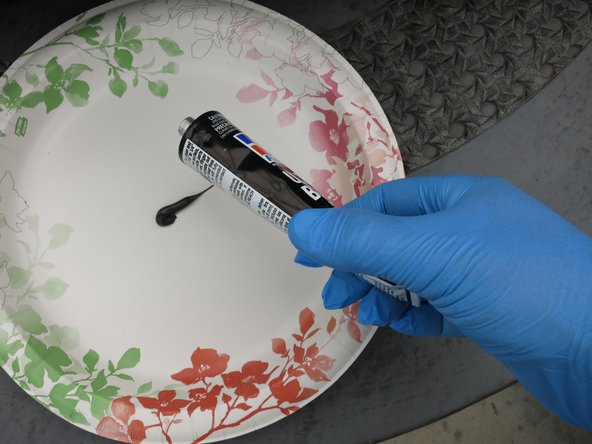
Put a dab of RTV silicone on a dispensable plate, or some other clean, non-essential surface.
-
-
-
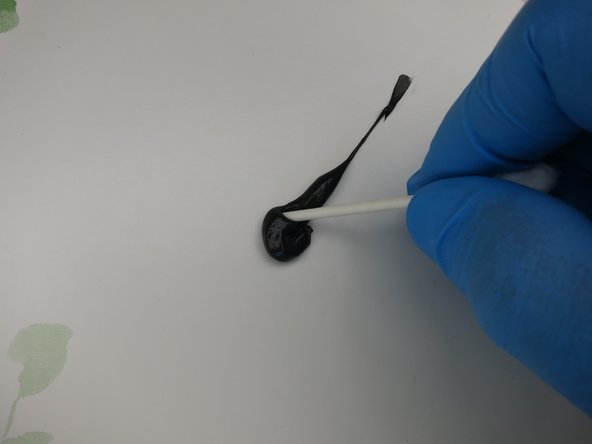
Cut the end off a cotton fiber swab in order to transform it into an RTV applicator.
-
Dip the swab into the RTV silicone, and utilise it to apply the RTV silicone to the underside of the subwoofer tear.
-
You lot do not demand a huge corporeality of RTV silicone on either side of the safe surround — just enough to form a very thin layer.
-
-
-
With the underside coated, put a dab of RTV silicone onto your gloved finger.
-
Gently spread the RTV silicone across the front of the torn subwoofer surroundings.
-
Once again, you lot don't demand gobs of RTV silicone in order to make a potent bond — just enough to form a thin layer.
-
-
-
Push down a couple of times on the eye of the subwoofer to ensure that the RTV silicone doesn't accidentally impede the movement of the sub.
-
-
-
After you're done applying the RTV silicone and testing the subwoofer's excursion, smoothen a strong flashlight through the at present-covered hole, and ensure that no light bleeds through.
-
Ensure the sub wires are withal continued properly, and reinstall the subwoofer back into the enclosure.
-


Embed this guide
Choose a size and copy the code below to embed this guide as a small widget on your site / forum.
Preview

How To Repair An Rejuvenate Worn-out Subwoofer Surrounds,
Source: https://www.ifixit.com/Guide/Subwoofer+Rubber+Surround+Repair/26043
Posted by: comptoncorant85.blogspot.com
0 Response to "How To Repair An Rejuvenate Worn-out Subwoofer Surrounds"
Post a Comment